

With the recent terrific heatwave, it’s not entirely unexpected that my computer has been overheating and suddenly shutting down without warning, thus losing what I’m working on.
I’ve had it for almost 15 years, and it’s clocked up over 50,000 hours on-time. The UEFI bios was showing that a case fan was turning very slowly and recently I could hear one of the fans sometimes making a rattling or squealing noise. Eventually I tracked this down to the graphics card, an AMD Radeon 6850, which has one fan and a series of fine cooling fins, which had been blocked with fine dust. Of course, I do occasionally take the case apart and de-dust everything, but now this wasn’t sufficient to keep the system cool.
Replacing the case fan
There are a number of fans in the system: in the power supply, in the CPU cooler, in the graphics card cooler, one at the front of the case and one at the back of the case. I could reach all these to de-dust them, except for the one at the front of the case, which is sandwiched between the front metalwork and the hard drive cage and is held in place by four plastic pegs. The first problem was how to remove the front cover panel of the computer.
Step 1 – Remove side panels
It’s a tower computer in a large case. The side panels are held on by thumbscrews on the back of the case. You unscrew these, slide the panel backwards about 1 cm and then just lift it off. I took both sides off.
Step 2 – Remove front cover

The front of the case has a plastic cover over the metal case behind. It is not obvious how it is held on, but it has plastic pegs along each side edge. You can see the ends of these when the side panels are off. You can carefully push them out from the inside of the case or insert a broad-bladed screwdriver between the metal case and plastic panel and gently lever them off, taking care not to damage the paint. On my machine, there is nothing fixed to the front panel, so you can just lift it away. Clean out all the dust!
Step 3 – Remove the fan fixing pegs
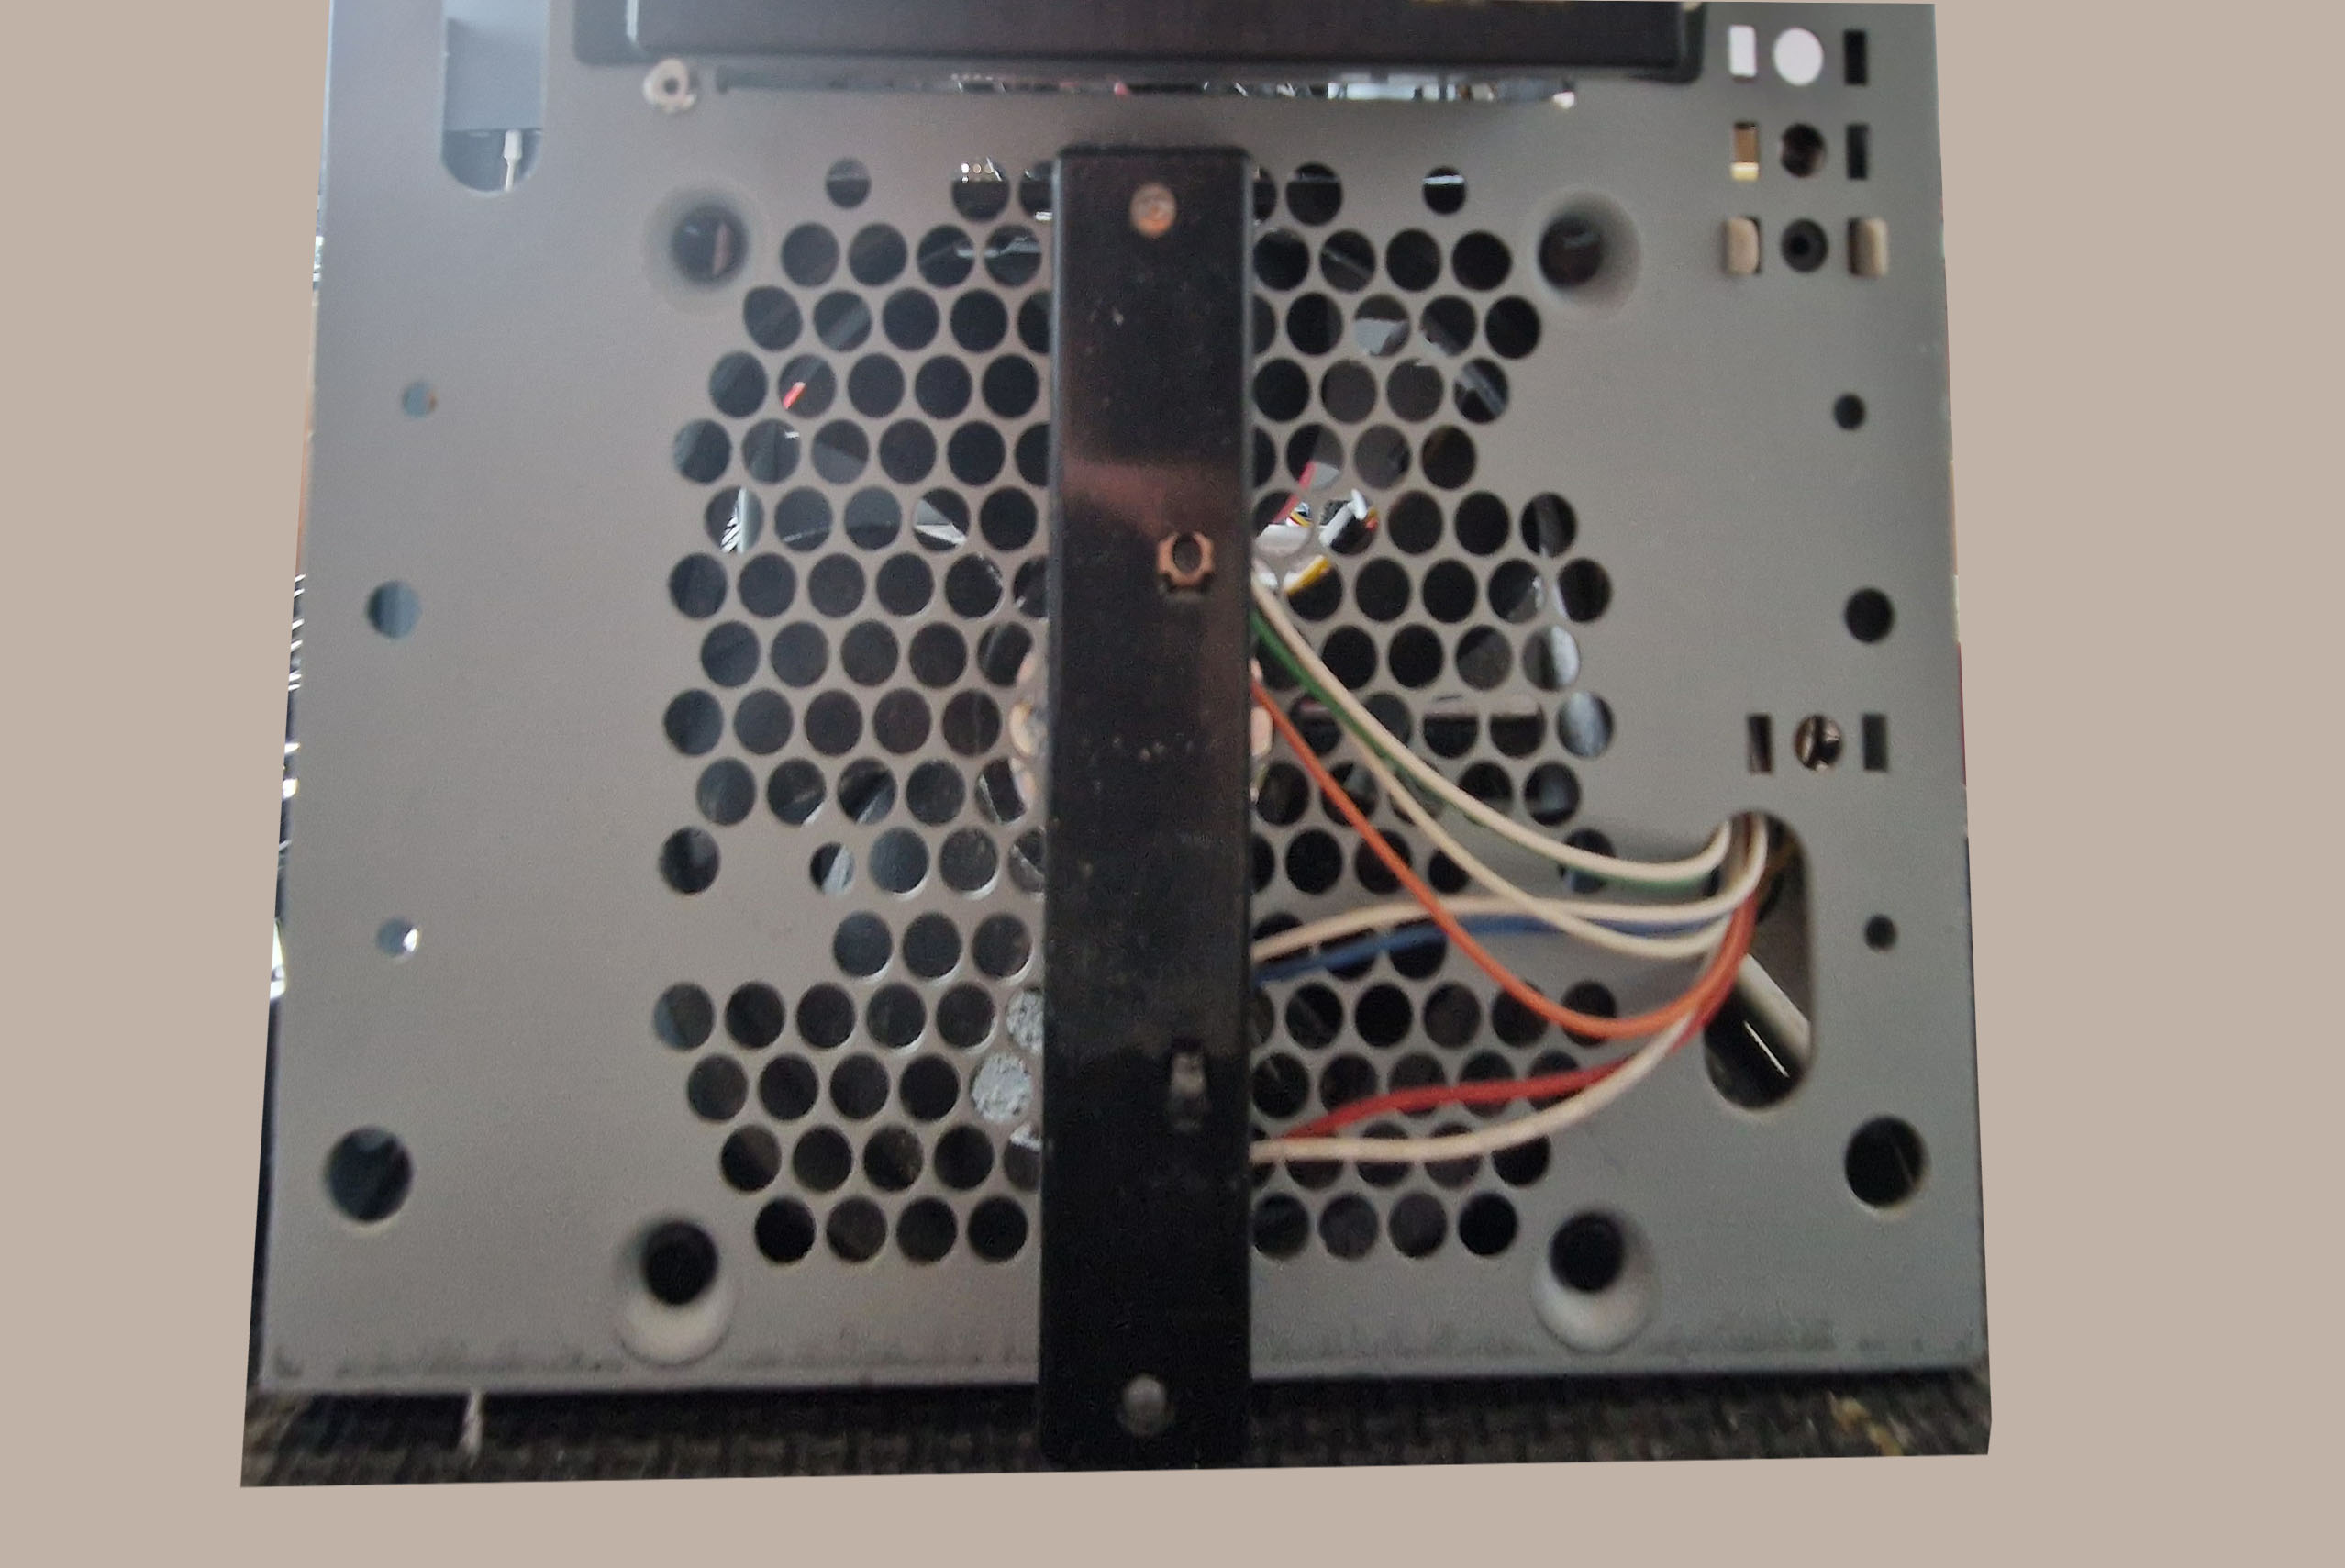
Now you can see that the front panel fan is held in by four hollow plastic pegs with a centre pin that spreads the legs which are on the inner end, thus holding the peg in place.

To remove them, use a thin screwdriver to push the centre pin back into the hollow peg. The head of the pin then protrudes on the front end and you can easily pull the whole peg out. Be sure to save them.
Step 4 – Remove the hard drive cage
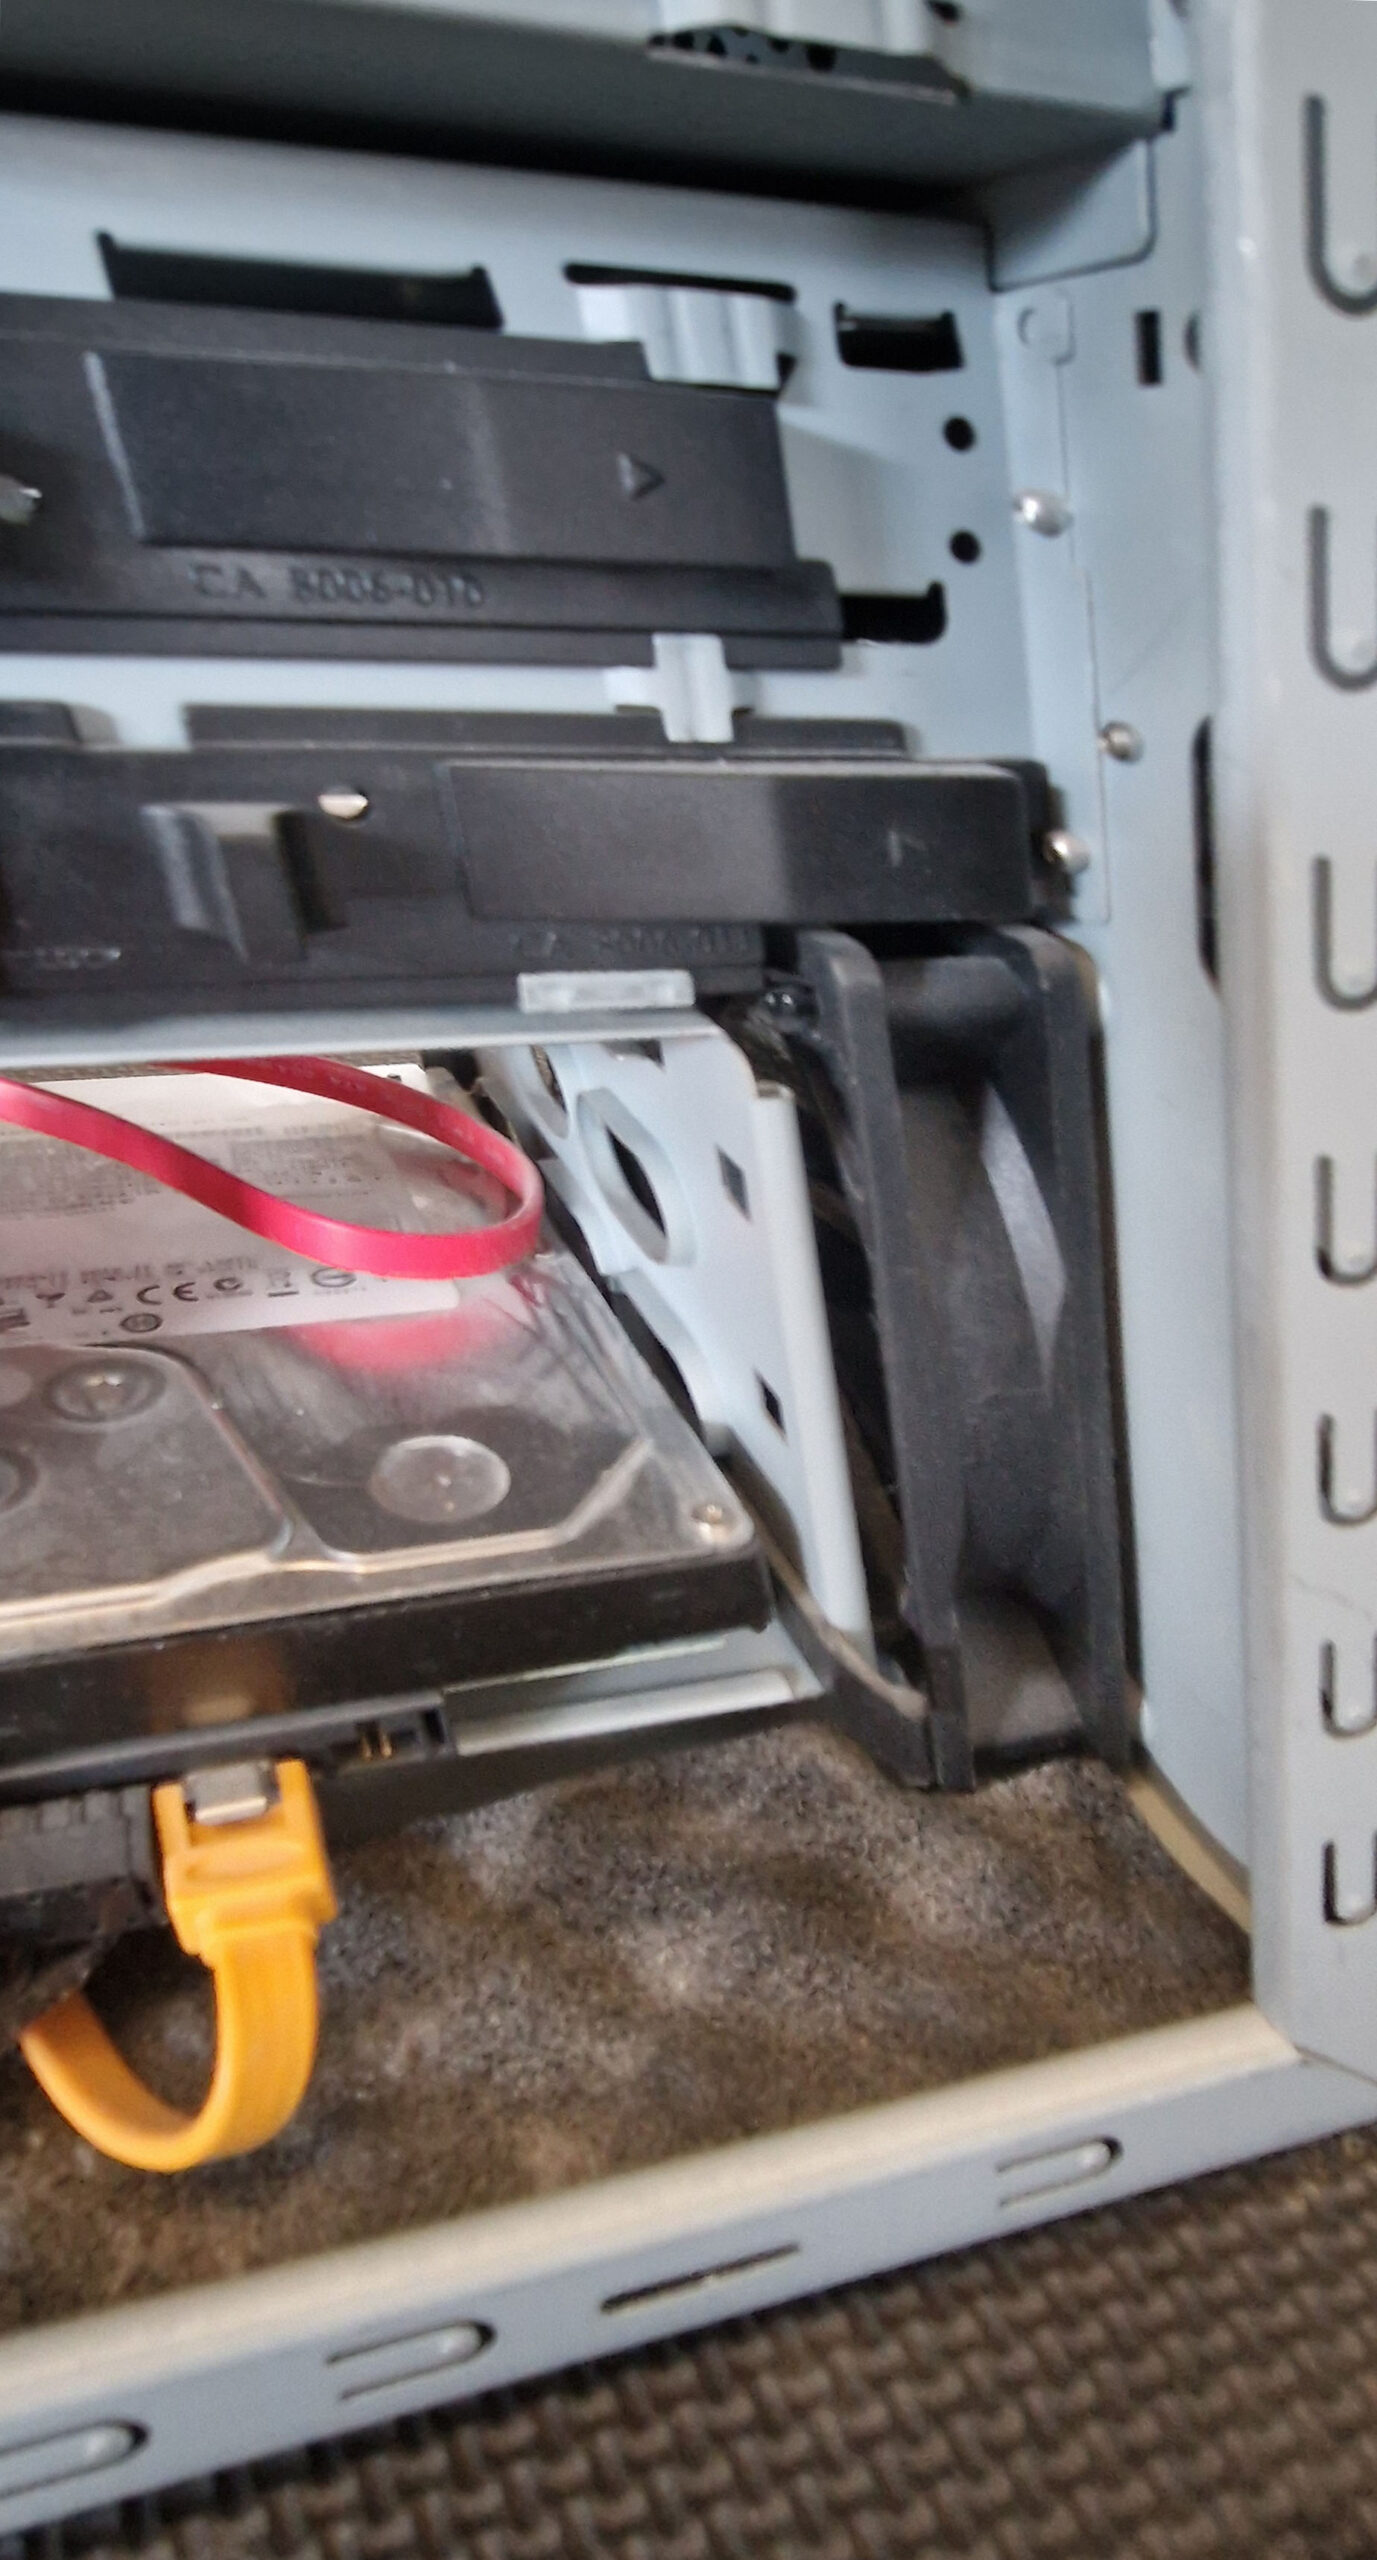
The fan is now loose, but no way will it come out because it is sandwiched between the front panel and the hard drive cage. You’ll have to release the cage. Firstly, carefully remove the plugs from the hard drive – take a photo to be sure of getting them back correctly. Then lift out the hard drive and carefully dust it. This is the personality of the computer, so treat it very carefully and avoid any bumps.

But the cage is firmly secured. after much investigation, I discovered that it was held in place by two screws into the side panel and two screws into the base of the case. When these were undone, it came free, but I couldn’t remove it entirely because someone had quite unnecessarily threaded a cable through one of the unused holes in the case.

There was enough slack for me to move it out of the way without unplugging it. I could now lift the fan out. However, the power connector is plugged into the motherboard, so I had to unplug this, taking care to press the holding catch on the plug so it would come out without any force.

Putting the new fan in was just a reverse of this process: Of course, you might not be sure which way round it goes: I just made sure the power leads were in the same place as the original. For information, the fan is a standard 120 x120 x 25 mm fan with a 12 V motor and a 3-pin power connector. I bought what I hope is a good-quality fan that will run quietly for a long time.
DID THIS WORK?
To my relief, the computer started up correctly, but the awful rattling and squealing started after a while and I realised that the real problem was the fan in the graphics card.
New Graphics Card
It’s not easy to decide what to do when it is an aging computer, but I have lot of information on it and it would take a long time to set up a new one. I’ve decided to buy a new graphics card. I do a fair bit of video editing but I don’t play computer games.
After brief research, I decided on a SWFT210 Radeon RX 7600 card. This is suitable for my motherboard and is much faster than the old card. It has 8 GB of memory, compared with 1 GB for the old card, and has a 2 GHz clock compared with 800 MHz for the old card and it was in stock at EBUYER for next day delivery at a very reasonable price.
For me, the only down-side is that it has 3 Display Port sockets and one HDMI socket. I use two displays, one with DP, but the other needs a VDI input. After a short search, I realised that VDI connectors are a thing of the past, but you can get a DP to VDI adapter for very little, so that’s what I’ve decided to do.
Power Supply
The graphics card is the sensory input/output of a computer, so changing it is a major thing. The specification says you need at least a 550 W power supply for the computer system when using this card, although it is rated at a 200 W power consumption itself (which is not insignificant).
I had already replaced the power supply in the computer with a Corsair 850X unit (which is 850 W as the name implies), so this was fine. However, I hadn’t thought about the power connector.
After removing the old graphics card and carefully fitting the new one, I was concerned to see that the new card needed an 8-pole power connector, whilst the old card had a 6-pole connector! After a cold shudder ran through me, I noticed that on the cable with the 6-pole connector there was another wire with a two-pole connector and the polarisation of the connectors was such that they fitted alongside each other into the 8-pole socket! Clever! the cable could be used for this card, but wasn’t something I’d considered when choosing. Apparently some of the more powerful cards need even more connections, so it is something to take into account: the publicity information blathers on about various features without mentioning this rather more fundamental requirement!
Drivers
The next thing is to fire up the computer – I was relieved when it gave the startup bleep and even more so when the login screen appeared. The boot-up resolution is apparently VGA and you have to download the correct drivers. To be fair, AMD have automated this and one you log into the right part of their website, it will download and install the correct driver. It took a fair while, but worked without issues.
Silence in Court!
I’m delighted to say that the system is now running with virtually no fan noise at all, although the heatwave has passed so it’s not such a demanding environment right now.
It’s been a worrisome few days, but so far, so good. I must now think about my backup system. That disk drive has done 50,000 hours and they don’t last for ever …